SpringAI - ChatClient(一)
创建首个 SpringAI 应用
创建应用
- 从SpringAI文档上可以看到,是基于Spring Boot的,支持3.4.X、3.5.X,JDK需要17及以上。
- 我是在 https://start.spring.io/ 上面创建了一个Spring Boot应用,选择3.5.X的版本,JDK 17的Maven应用。
- SpringAI 选择了
1.1.0-SNAPSHOT版本。
POM
依赖管理
1
2
3
4
5
6
7
8
9
10
11
12
13
14
15<properties>
<spring.ai.version>1.1.0-SNAPSHOT</spring.ai.version>
</properties>
<dependencyManagement>
<dependencies>
<dependency>
<groupId>org.springframework.ai</groupId>
<artifactId>spring-ai-bom</artifactId>
<version>${spring.ai.version}</version>
<type>pom</type>
<scope>import</scope>
</dependency>
</dependencies>
</dependencyManagement>依赖引入,这里跟Spring Boot类似,需要什么依赖引入对应的
starter即可。比如这里我暂时仅需要deepseek的依赖(这一步可以后面需要的时候再加也可)。1
2
3
4<dependency>
<groupId>org.springframework.ai</groupId>
<artifactId>spring-ai-starter-model-deepseek</artifactId>
</dependency>如果你Maven使用的镜像拉不到依赖,可以找找其他镜像。我这里是按官方文档添加的组件仓库 repository (如果是在 https://start.spring.io/ 上面创建的,应该是自动添加好的)
1
2
3
4
5
6
7
8
9
10
11
12
13
14
15
16
17
18
19
20
21<repositories>
<repository>
<id>spring-snapshots</id>
<name>Spring Snapshots</name>
<url>https://repo.spring.io/snapshot</url>
<releases>
<enabled>false</enabled>
</releases>
</repository>
<repository>
<name>Central Portal Snapshots</name>
<id>central-portal-snapshots</id>
<url>https://central.sonatype.com/repository/maven-snapshots/</url>
<releases>
<enabled>false</enabled>
</releases>
<snapshots>
<enabled>true</enabled>
</snapshots>
</repository>
</repositories>如果加了组件仓库还是不行,那么可能还是镜像导致无法访问spring的快照仓库,比如我自己使用的如下
1
2
3
4
5
6<mirror>
<id>aliyunmaven</id>
<mirrorOf>*</mirrorOf>
<name>阿里云公共仓库</name>
<url>https://maven.aliyun.com/repository/public</url>
</mirror>则需要修改成
1
2
3
4
5
6<mirror>
<id>aliyunmaven</id>
<mirrorOf>*,!spring-snapshots,!central-portal-snapshots</mirrorOf>
<name>阿里云公共仓库</name>
<url>https://maven.aliyun.com/repository/public</url>
</mirror>如果还不行,那可能需要科学上网。
简单使用 ChatClient
使用ChatClient调用Deepseek
引入
spring-ai-starter-model-deepseek依赖1
2
3
4<dependency>
<groupId>org.springframework.ai</groupId>
<artifactId>spring-ai-starter-model-deepseek</artifactId>
</dependency>配置
api-key1
2
3
4spring:
ai:
deepseek:
api-key: sk-6a3e********************9bd案例:这里指定了模型的提示词为“你是一个Java专家,请帮忙解答提出的Java相关问题。”。
1
2
3
4
5
6
7
8
9
10
11
12
13
14
15
16
17
18
19
20
21
22
public class CreateChatClientExample {
private final ChatModel chatModel;
private static final String SYSTEM_PROMPT = "你是一个Java专家,请帮忙解答提出的Java相关问题。";
public void createChatClient(String userMessage) {
// 创建一个 client
ChatClient chatClient = ChatClient.create(chatModel);
// 调用 deepseek
String content = chatClient.prompt()
.system(SYSTEM_PROMPT)
.user(userMessage)
.call()
.content();
log.info("\nCreate ChatClient content -> \n{}", content);
}
}测试及执行结果,这里问了“Java为什么要使用双亲委派模型?”

多模型使用ChatClient,调用Deepseek和OpenAi
Deepseek的依赖上面引入过了,这里增加OpenAi的依赖
spring-ai-starter-model-openai1
2
3
4<dependency>
<groupId>org.springframework.ai</groupId>
<artifactId>spring-ai-starter-model-openai</artifactId>
</dependency>需要增加OpenAi的配置
api-key1
2
3
4
5
6
7spring:
ai:
deepseek:
api-key: sk-6a3e********************9bd
openai:
api-key: sk-proj-_Mj********************rsA这里把 ChatClient 通过
@Configuration注入到Spring容器1
2
3
4
5
6
7
8
9
10
11
12
13
14
15
16
17
18
19
20
public class ChatClientConfiguration {
private static final String DEFAULT_PROMPT = "你是一个Java专家,请帮忙解答提出的Java相关问题。";
public ChatClient deepseekClient(DeepSeekChatModel chatModel) {
// 其实也是调用的构造者模式
return ChatClient.create(chatModel);
}
public ChatClient openAiClient(OpenAiChatModel chatModel) {
// 构造者模式
return ChatClient.builder(chatModel)
.defaultSystem(DEFAULT_PROMPT) // 默认设置一个提示词
.build();
}
}案例(与上面案例类似),这里OpenAi因为设置过默认提示词,所以这里并没有设置提示词了。
1
2
3
4
5
6
7
8
9
10
11
12
13
14
15
16
17
18
19
20
21
22
23
24
25
26
27
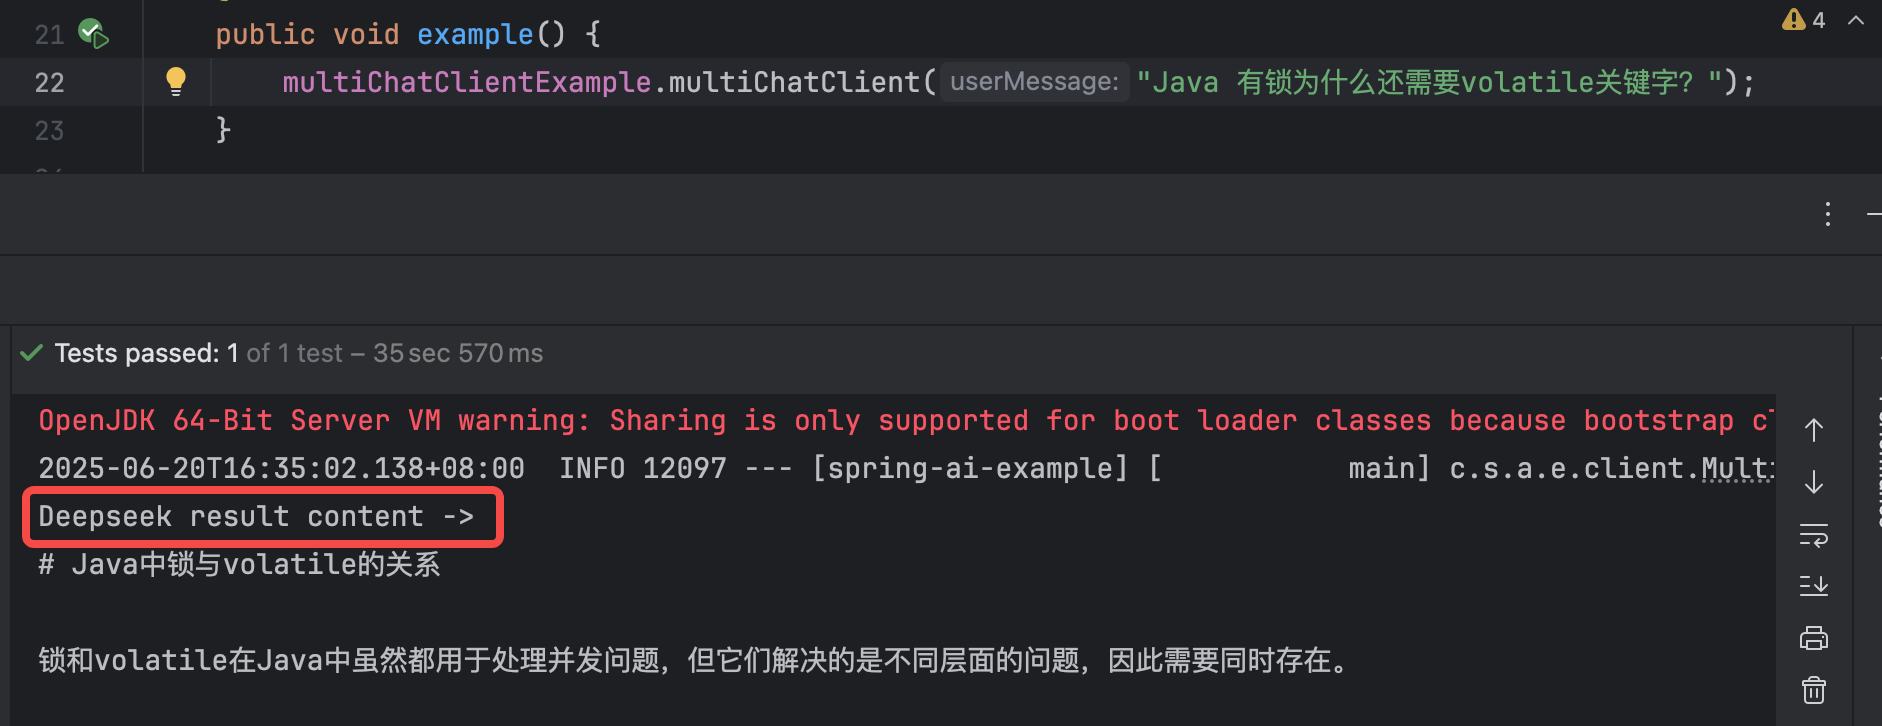
public class MultiChatClientExample {
private final ChatClient deepseekClient;
private final ChatClient openAiClient;
private static final String SYSTEM_PROMPT = "你是一个Java专家,请帮忙解答提出的Java相关问题。";
public void multiChatClient(String userMessage) {
String content = deepseekClient.prompt()
.system(SYSTEM_PROMPT)
.user(userMessage)
.call()
.content();
log.info("\nDeepseek result content -> \n{}", content);
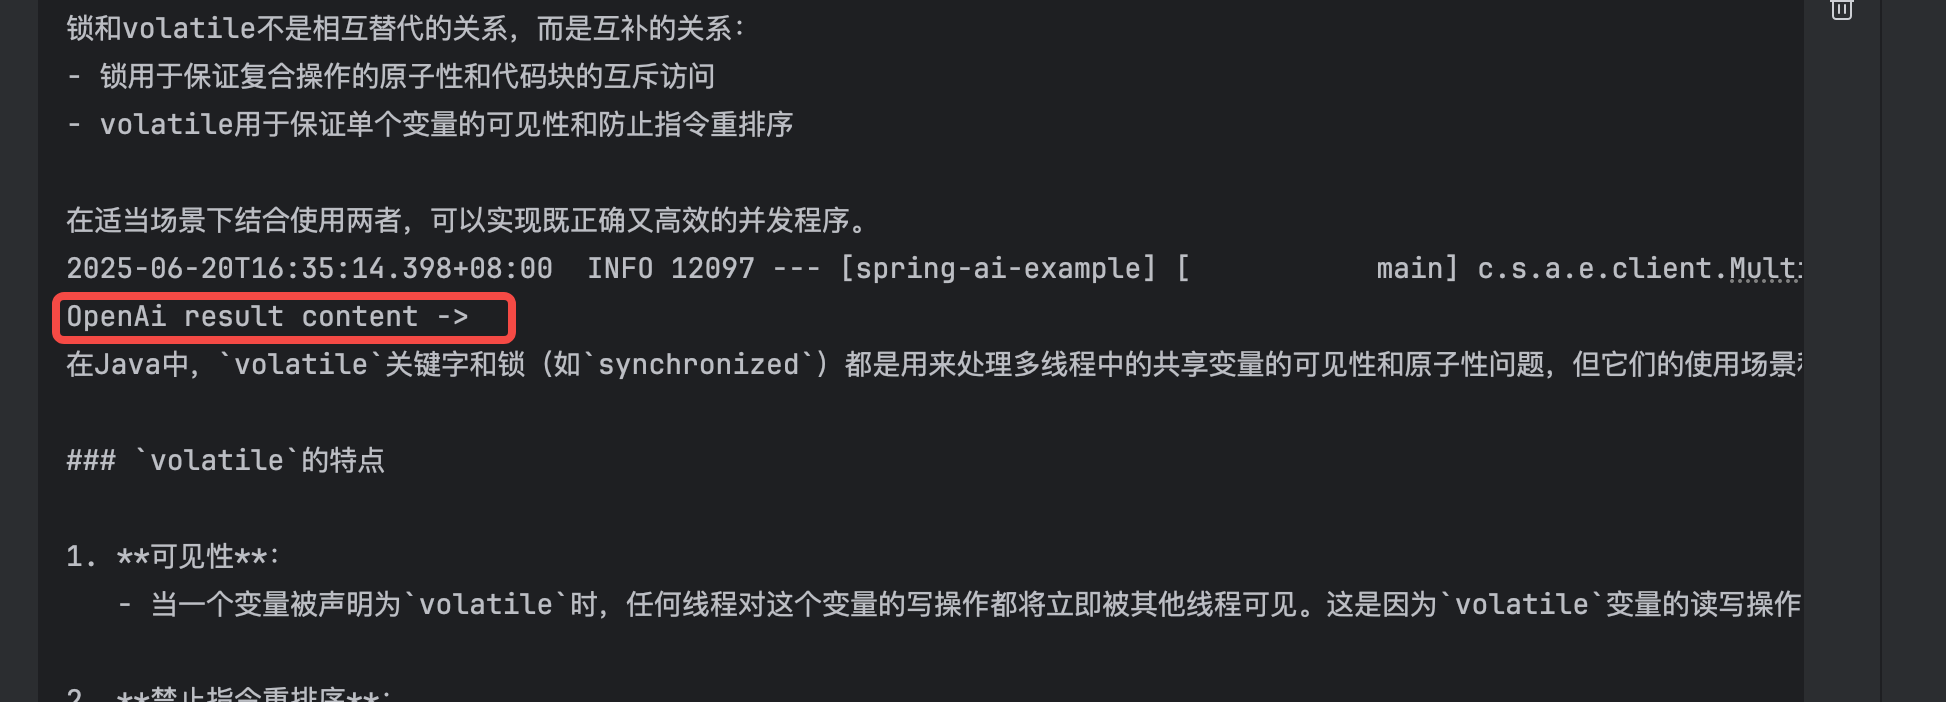
content = openAiClient.prompt()
.user(userMessage)
.call()
.content();
log.info("\nOpenAi result content -> \n{}", content);
}
}测试及结果,这里问的是“Java 有锁为什么还需要volatile关键字?”
使用stream模式
非常简单,将上面案例中调用
.call()换成.stream()即可。比较简单,输出结果也就记录了。1
2
3
4
5
6
7
8
9
10
11
12
13
14
15
16
17
18
19
20
21
22
public class StreamChatClientExample {
private final ChatClient deepseekClient;
private static final String SYSTEM_PROMPT = "你是一个Java专家,请帮忙解答提出的Java相关问题。";
public void streamExample(String userMessage) {
deepseekClient.prompt()
.system(SYSTEM_PROMPT)
.user(userMessage)
// 使用 stream 模式
.stream()
// 返回的是Flux<String>
.content()
// 直接订阅后通过日志打印出来了
.doOnNext(log::info)
.subscribe();
}
}
总结
- 通过上面案例就可以简单的使用ChatClient调用相应模型了,使用不同AI模型引入不同的starter即可。
- 从案例中可以看到,不同的AI模型其实就对应着不同的ChatModel,且由SpringAI是自动装配了的。是可以通过配置关闭装配的,相关配置后面在学习模型的时候再继续学习。
- 这里只学习使用了一些最基本的操作,响应结果直接取的字符串content、构造者模式也只使用默认的提示词;所以更多的操作还需要深入学习。
最后
- 所有案例的源码,都会提交在GitHub上。包:
com.spring.ai.example.advisor.one